

BlueStacks is an Android emulator that lets you run supported Android apps and games on a Windows PC. The original version of this article referred to BlueStacks 4, Windows 7-era requirements and several outdated features. The steps below focus on the current BlueStacks 5 installation workflow and the checks that matter before you install it.
Before you install BlueStacks
Download BlueStacks only from the official BlueStacks website. Avoid third-party installers and unofficial modified builds.
For current BlueStacks 5 installations, BlueStacks lists Windows 10 and Windows 11 as the recommended environment for the latest features. Its published minimum requirements include an Intel or AMD processor, at least 4 GB of RAM, 5 GB of free storage, administrator access and up-to-date graphics drivers. BlueStacks also recommends virtualization, 8 GB or more RAM and an SSD for a better experience. citeturn1search10turn1search0
Older Windows versions may support specific older BlueStacks releases, but they should not be treated as the default choice for a new installation.
How to download BlueStacks
- Open your web browser.
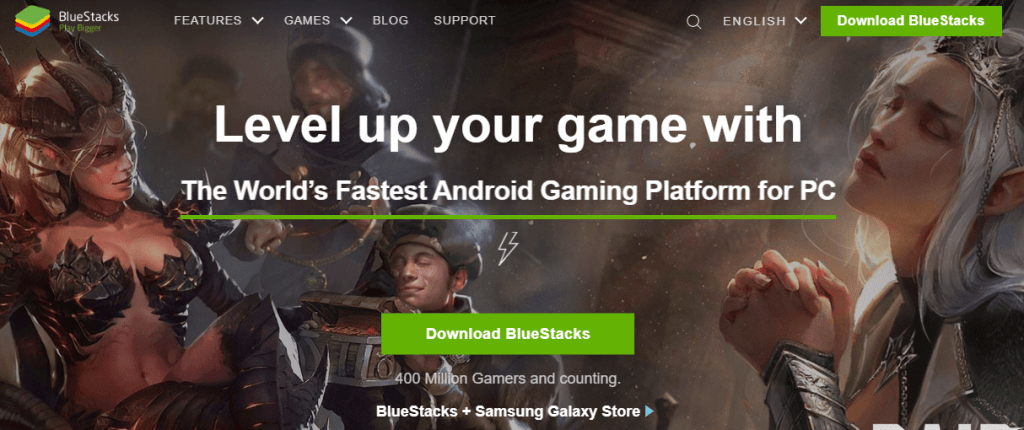
- Go to the official BlueStacks website.
- Select the current BlueStacks download option for your operating system.
- Save the installer to a location you can easily find.
How to install BlueStacks on Windows
- Open the downloaded installer.
- Allow the installer to run if Windows displays a security confirmation.
- Follow the on-screen installation instructions.
- Allow the installer to download the additional files it needs.
- Wait for the installation to complete and launch BlueStacks.
The exact screens and installation time can vary by BlueStacks release, Windows configuration and internet speed, so older screenshots should be treated as visual references rather than exact current instructions.

How to sign in and install Android apps
- Open BlueStacks after installation.
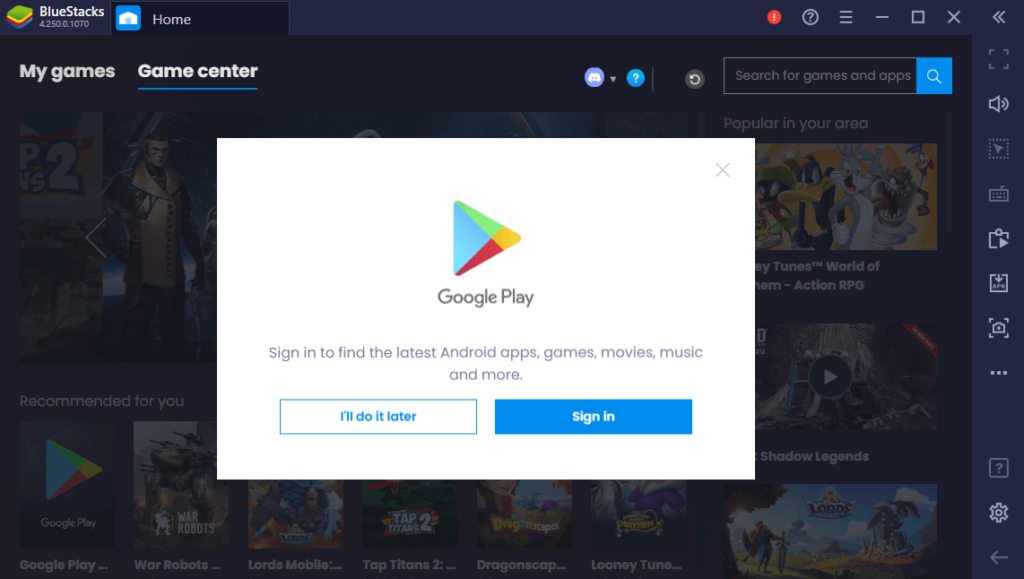
- Sign in with a Google account when the Google Play workflow asks for one.
- Open Google Play and search for the Android app or game you want to use.
- Install the app if it is compatible with your BlueStacks environment.
- Launch the app from the BlueStacks home screen.
Not every Android app behaves identically in an emulator. Some apps may depend on hardware features, device certification, graphics capabilities, security controls or services that are not available in the same way on a virtual Android environment.
How to update BlueStacks
Use the update mechanism provided by BlueStacks or download the current release from the official site. Before a major upgrade, make sure important app data is synchronized or backed up where the app supports it.
Do not assume that an older installation can always be upgraded without compatibility issues. If an application or game depends on a particular Android instance, graphics mode or configuration, check the current BlueStacks documentation before changing your setup.
Virtualization and Hyper-V
Virtualization is important for emulator performance. BlueStacks documents support for running BlueStacks 5 with Hyper-V enabled or disabled on supported Windows 10 and Windows 11 configurations. With newer BlueStacks 5 releases, the installer can select the appropriate Hyper-V-compatible setup when Hyper-V is enabled. citeturn1search0
If BlueStacks reports a virtualization or Hyper-V problem, check your Windows virtualization settings, BIOS/UEFI configuration and the current BlueStacks requirements before changing system features. Do not disable security or virtualization features blindly just to make an emulator launch.
Common BlueStacks problems and fixes
BlueStacks is slow
Close unnecessary background applications, confirm that virtualization is available, keep graphics drivers current and check whether your PC meets the recommended rather than minimum requirements. An SSD and additional RAM can also improve overall responsiveness.
An app or game crashes
Check for a BlueStacks update, try the recommended graphics mode for the affected application, and confirm that the app supports the Android environment you are using. Some applications simply do not work correctly in an emulator.
BlueStacks will not install
Check free disk space, administrator permissions, Windows compatibility, security software and virtualization requirements. Downloading a fresh installer from the official source can also rule out a corrupted download.
Google Play sign-in does not work
Check your internet connection, system date and time, Google account credentials and BlueStacks version. If the problem persists, use the current BlueStacks support documentation rather than relying on old emulator tutorials.
Is BlueStacks safe to use?
Download the software from its official source and keep both BlueStacks and Windows updated. Avoid unofficial APK files, modified emulator builds and downloads from sites that bundle unknown software.
Safety also depends on the Android apps you install. Treat an emulator like any other software environment: review app permissions, use reputable sources, avoid suspicious downloads and protect your Google account with appropriate security controls.
BlueStacks on Mac
BlueStacks also publishes Mac compatibility information, but the available features and supported operating-system versions can differ from Windows. Check the current BlueStacks requirements for your Mac model and macOS version before installing. Do not assume that a Windows installation guide applies unchanged to macOS.
What changed from the old BlueStacks guidance?
- BlueStacks 4 is no longer treated as the current version.
- Windows 7 and Windows 8 are not presented as the default environment for a new installation.
- The old 2 GB RAM requirement has been replaced with the current published minimum of 4 GB for BlueStacks 5.
- Current guidance accounts for virtualization and Hyper-V configurations.
- Unsupported claims such as guaranteed safety, automatic data synchronization and universal iOS compatibility have been removed.
- Third-party download recommendations have been removed in favor of the official source.
Final takeaway
Installing BlueStacks is straightforward when your PC meets the current requirements and virtualization is configured correctly. Start with the official installer, check your Windows and hardware compatibility, keep graphics drivers current, and troubleshoot compatibility issues using current BlueStacks documentation rather than old version-specific tutorials.
